Hello my lovelies and welcome to the first festive post of December!! I actually can’t believe we’re officially counting down to Christmas. How is there only 3 weeks until Santa makes his big arrival, even with all the restrictions, and then only 4 weeks until the end of 2020. When I say this year has gone so quickly I bloody mean it.

Today, as the title suggests, we’re making our own Wreath’s thanks to Wilko! This is not sponsored in any way shape or form but Wilko is the place to be this year for affordable lovely Christmas decks. Lately I have been on a crafty and DIY hype, so I have been loving creating things and looking at Pinterest for inspo and when I shopped in Wilko last I saw they had so many wreaths and all the accessories to add to them so it would’ve been rude not to buy one and create my own! So if you wanna see how to make a wreath your cat will approve of, then please keep reading!

Well first things first, you of course need the wreath. In Wilko they only had classic green ones, I think it would be so fun to do all different colours and even half wreaths would be so fun to create. But for today we’re doing a classic one. The first thing I did was make the wreath look fuller by manipulating the wires to all go the same way – curved around in a clockwise motion. The lower half of the wreath is much thicker than the top half which also helps for the layering of the items later on. So I just played around with it until I was happy.

I decided to add some lights to the wreath to give it a bit of extra sparkle and it really helps to highlight areas in the wreath that wouldn’t be seen as well without them. These are wired lights which I defo recommend for a project like this as they’re easy to manipulate and weave around/ in and out of the wreath itself.
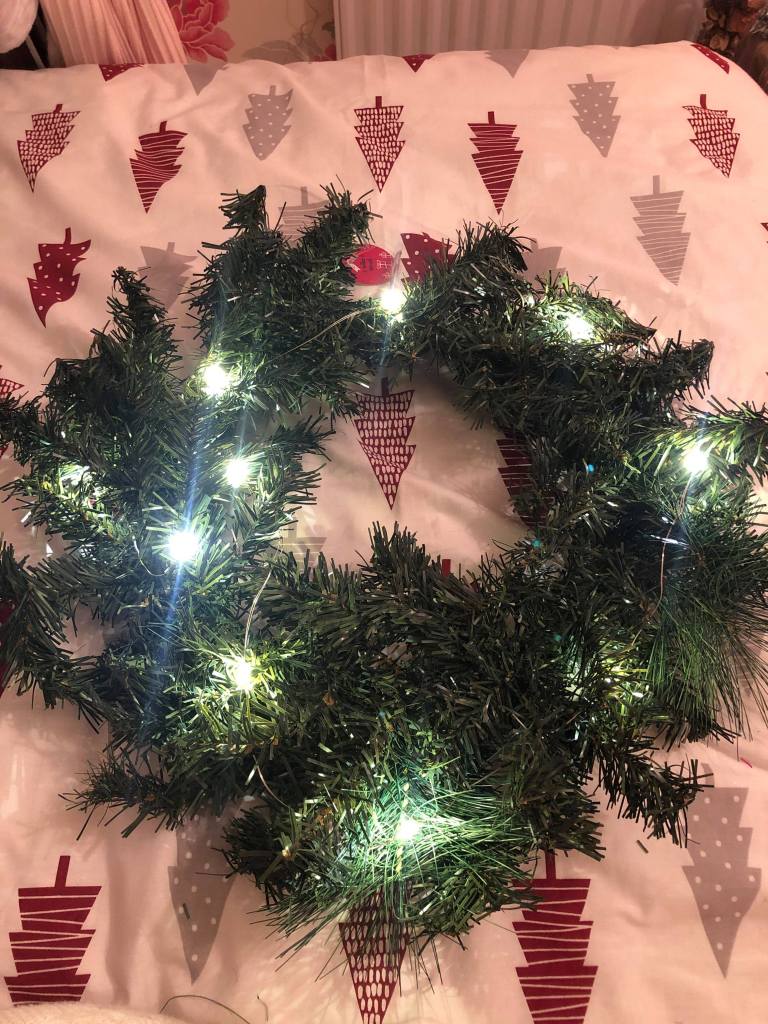
I feel like this already looks better and this isn’t even everything we’re putting on it! I just lodged the battery pack at the back of the wreath for now, depending on how well it sits up right I may just leave it like that or I will attach the battery pack into the wreath. So if you’re following along you should have something a bit like this right now.

Time to start filling out the wreath! Starting with these holly leaves with berries. All of these accessories I’m adding on have wire running through them which makes them super easy to attach. All you have to do is find a placement you’re happy with and either loop the wire around one of the wreath arms or you can attach the wire to the back frame of the wreath. I did a mix of both as layering in a project like this is very important to add depth.

I decided to space them evenly around my wreath, but depending on what look you’re going for will depend how you want to fill your wreath. I personally found the more I added and the more colours I played with the better the wreath looked.


Jingle bells – Wilko – £1 for 5 or 6 in a pack
I think the bells were one of my favourite elements of this wreath. Because they’re so much smaller you could have them peak through the under layer of the wreath to really add that depth I wanted to create. So I’m attaching these with the green wires provided in the pack. Pulling them through the back of the wreath and making sure they’re even on both sides.


When the bell was centralised I pulled the wire back into a horse shoe ‘u’ shape so when added to the wreath it would be easier to get a closer and tight attachment. So I decided on a placement, turned the wreath the other way (the back), held the bell in place at the front, and then twisted the wire together as many times as it would go, and done!

I repeated the same steps with all of the bells I wanted to attach until I was happy. I had a mix of brass silver and gold bells which I think worked really well together with all of the other elements I added to the wreath too.

Again, I made sure they were evenly spaced going clockwise. Throughout the making of this wreath I sort of worked with the idea of going round at 5 points. So if you follow the bells around it’s 5 points going around the circular wreath.

These clusters of berries do a fab job at creating small areas of interest in the wreath for your eye to catch. I also love that they’re not just one colour or one texture. Again the stem is just wire so just like the rest of the elements I chose a placement and then twisted the wire around one of the stems of the wreath.
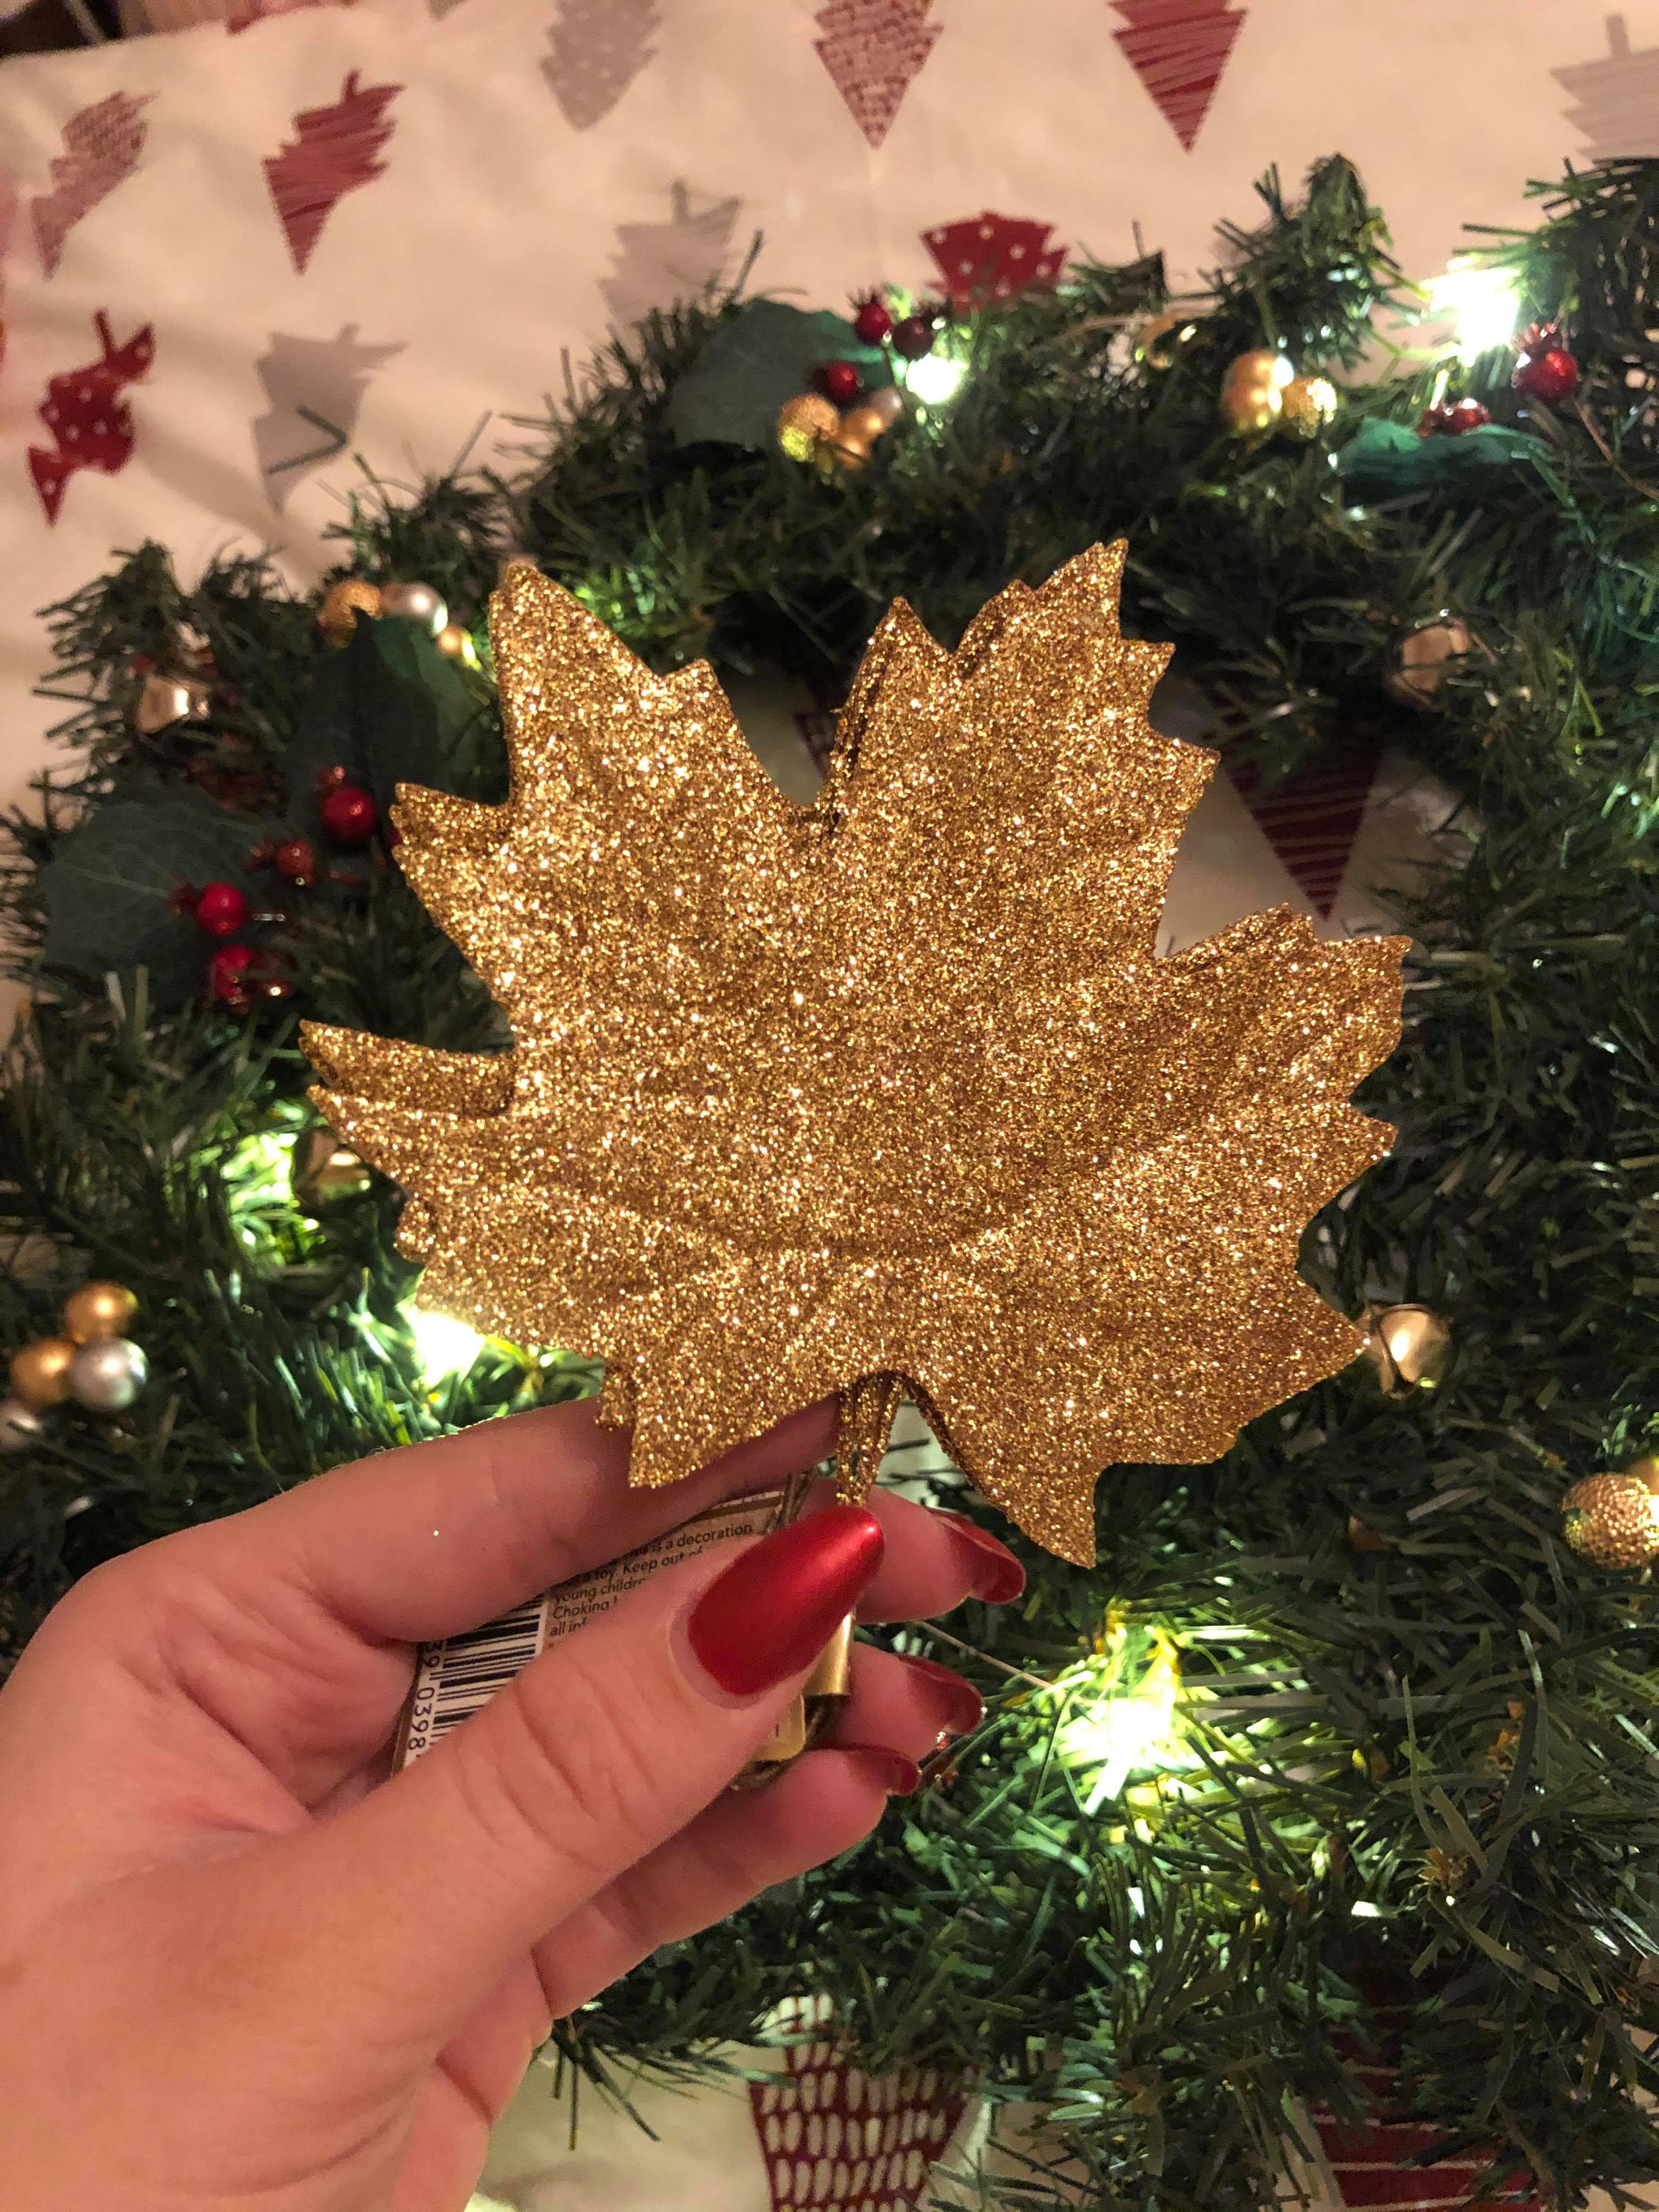
Gold leaves – Wilko – £1 for 3
Now for the larger elements of the wreath and I think less is more in this sense. I bought two packs of these as I wasn’t sure how many I would want but one set is definitely enough. Be careful working with these because the wire and the leaf are glued together but not completely solid. As I was working with one of them one of the wires had slightly come away from the leaf, so just be careful if you do get these.
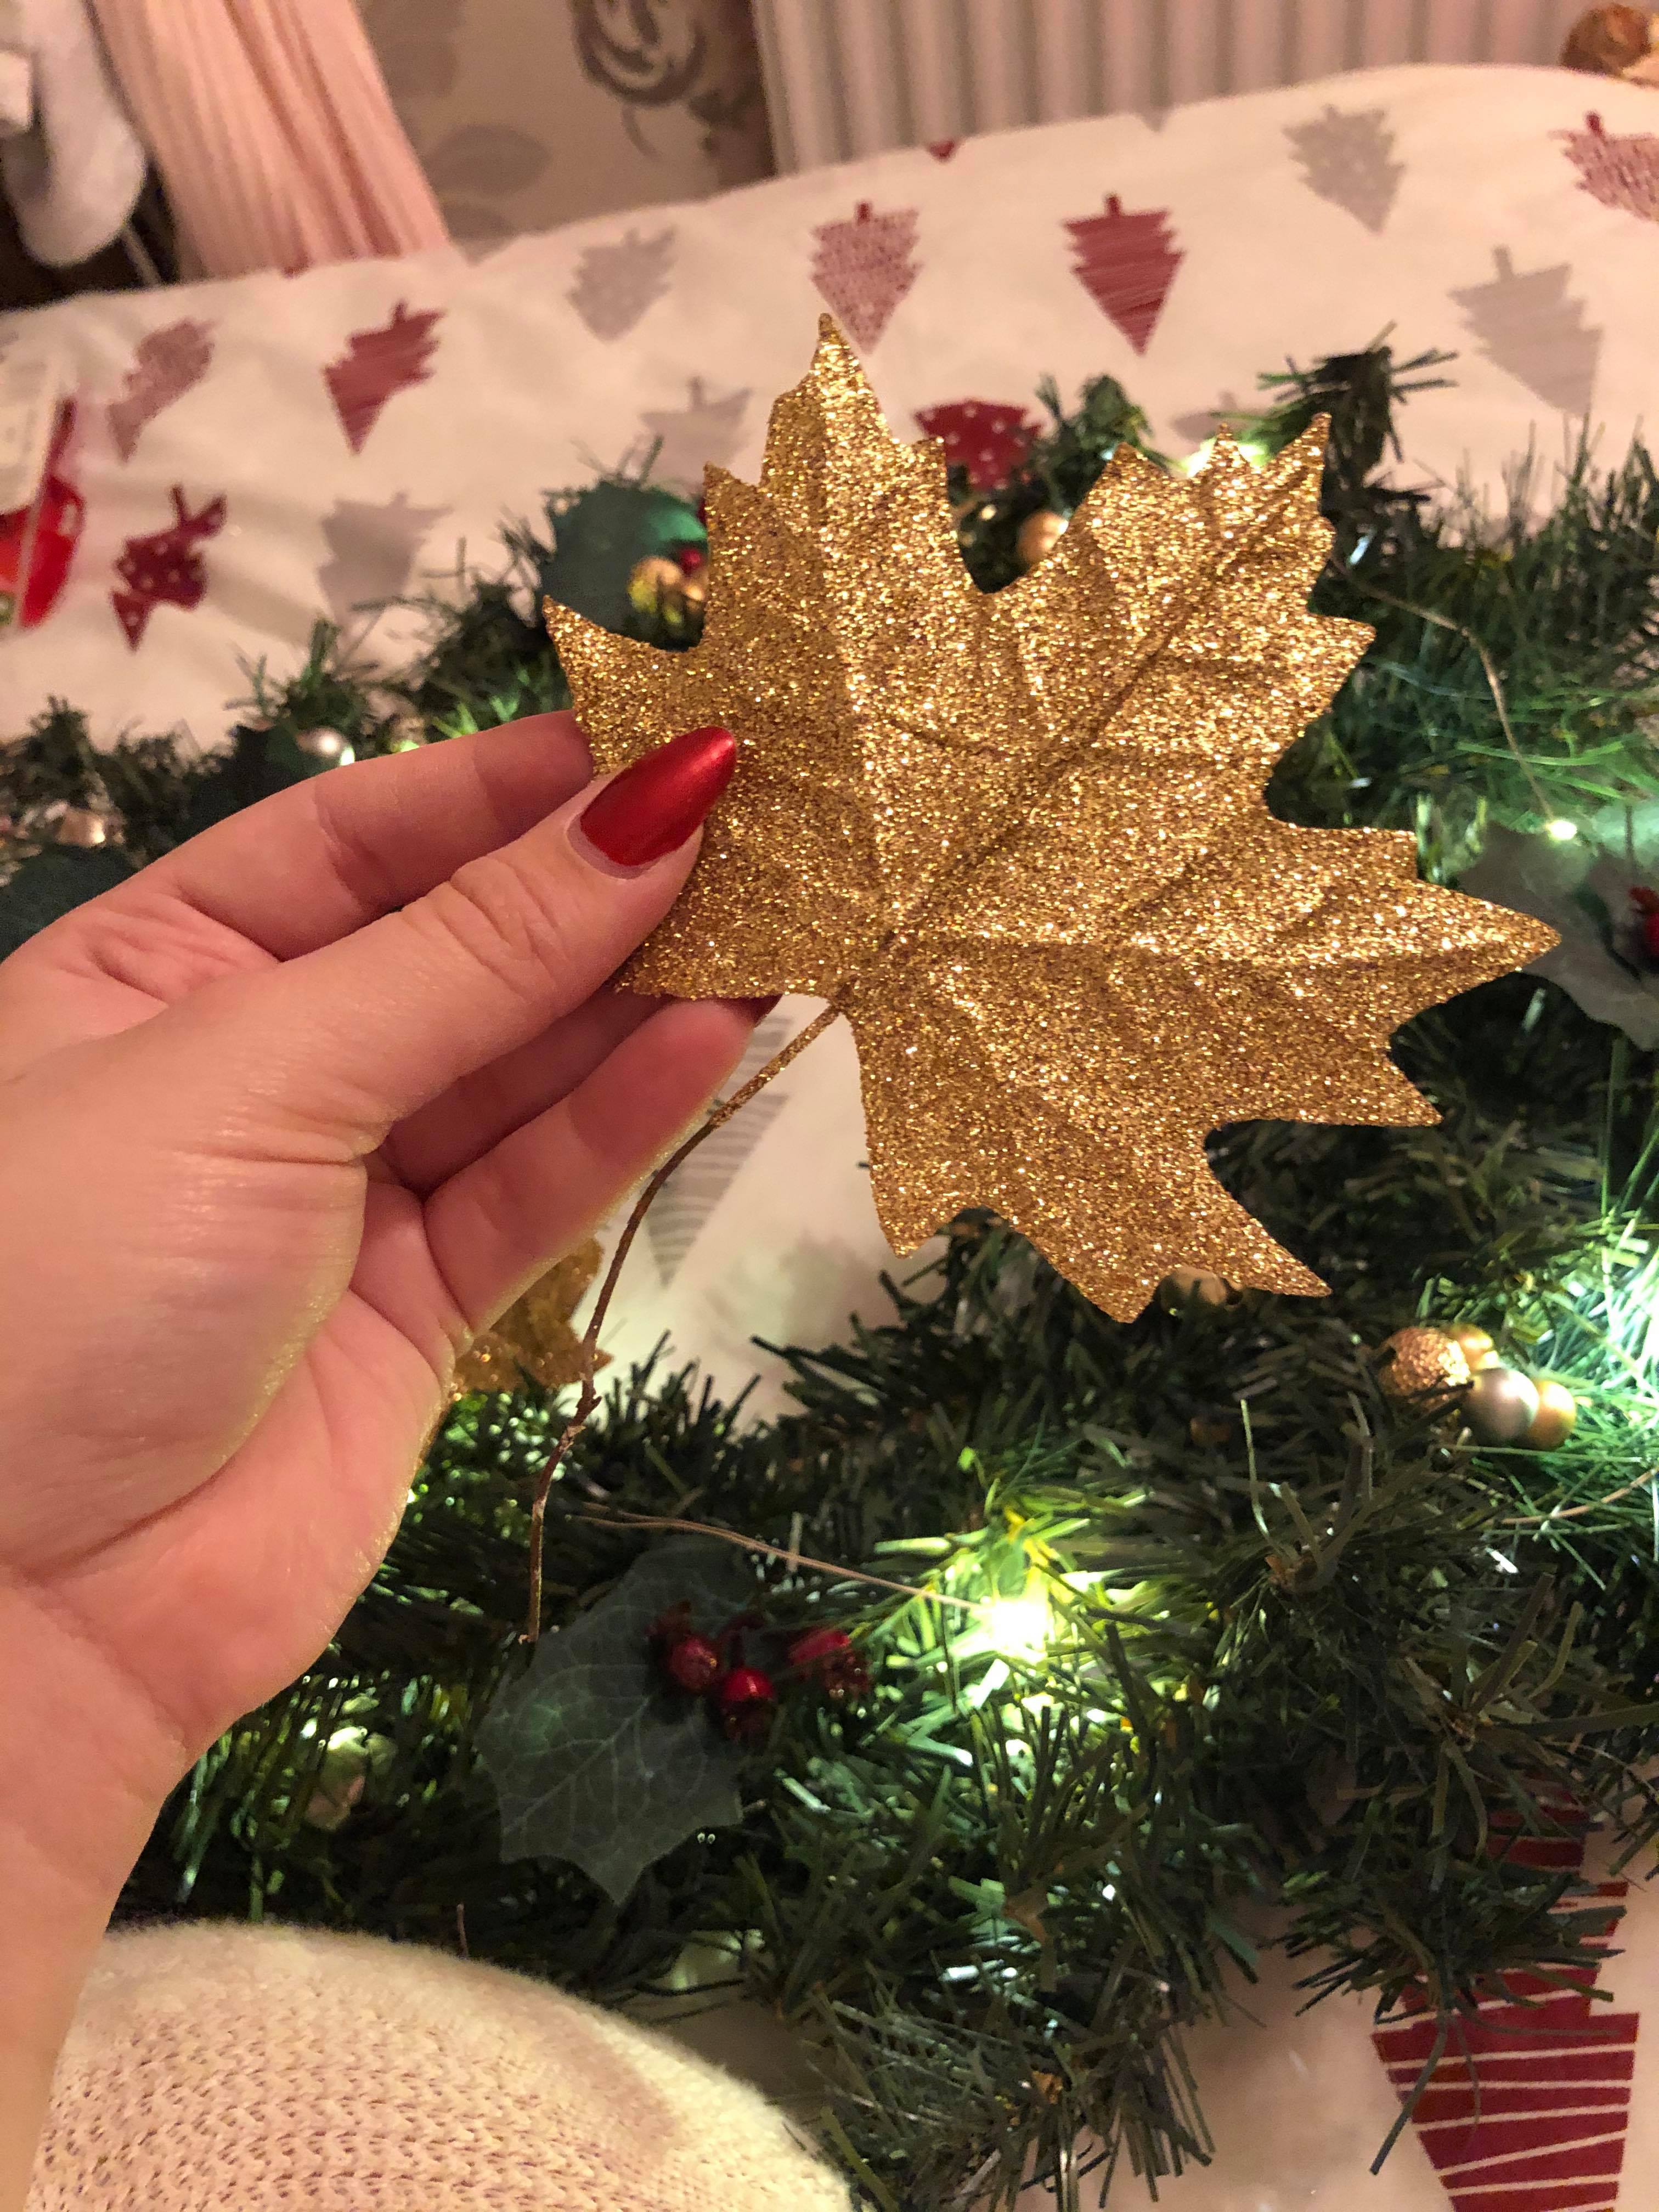
But again, really easy to add in with twisting the wire around the wreath.

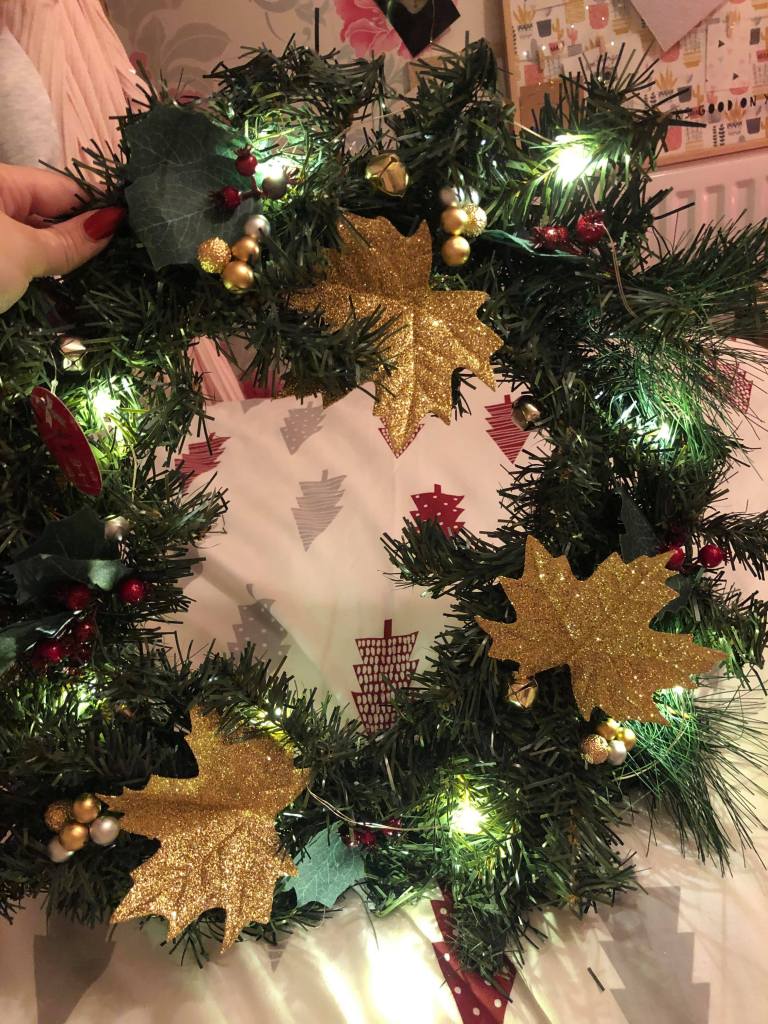
I changed the placement of these so much because I really liked the look of having two symmetrical at the bottom with one at the top kind of drawing into the middle.

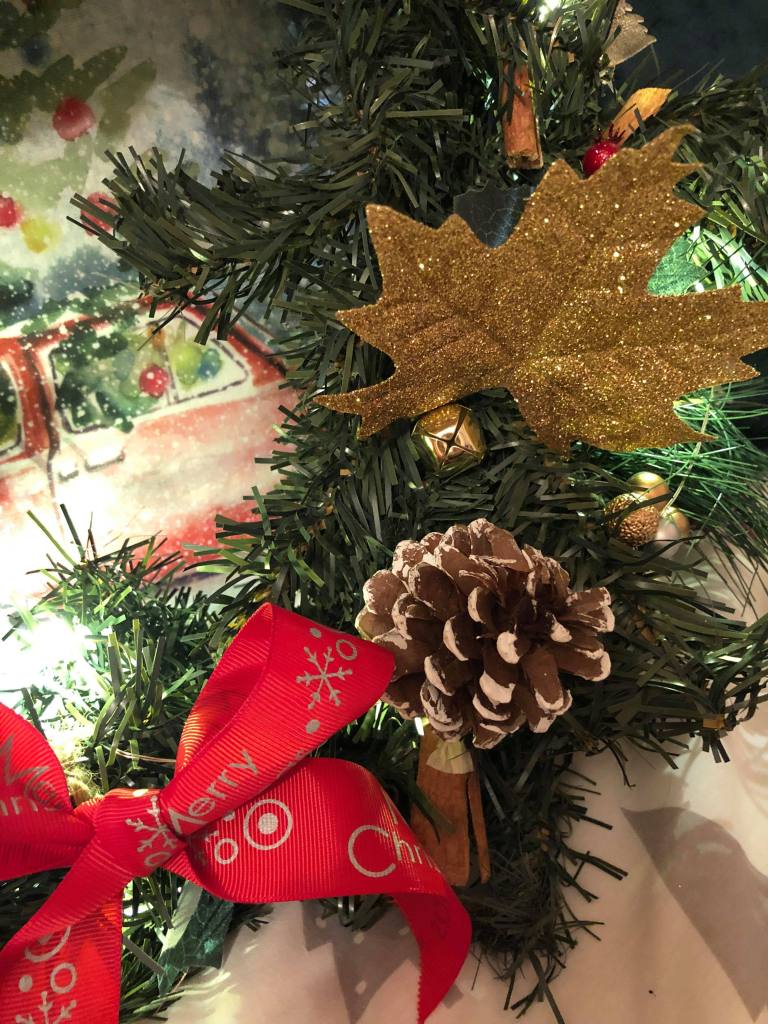
I love pine cones so of course I had to add them into my wreath! These ones again have wires on the end so they’re really easy to attach. I feel like these really pulled together all of the elements and helped to balance all of the bits. Everything just seemed to work so well together.
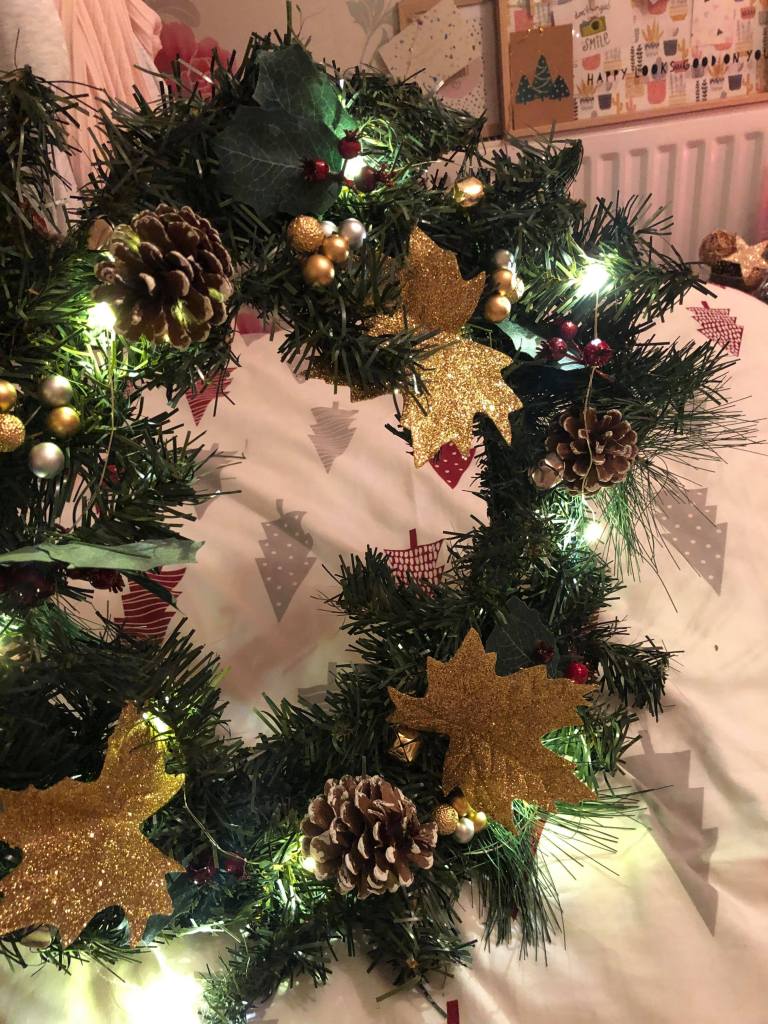
And here it is! All of the elements added on and it looks so good. Everything has come together so well. I love all of the layers and the classic look of red, green, gold, and silver.

I also bought some cinnamon sticks to add that real wreath feel with a gorgeous festive smell. In real wreaths you often get the real pine/ spruce (obvs) as well as real berries, holly, orange slices, apple slices etc. So I just wanted a little something to give us that vibe. So when I saw Wilko also had cinnamon sticks I had to grab a bag!

So all I did was just lodge them around the wreath, again in that clockwise motion of the 5 points. I didn’t attach them with any string or wire, I just slotted them in and played with the placement until they sat in properly where they wouldn’t come out.

Although I could’ve left the wreath as it was I decided the finishing touch needed was a ribbon! When I think of a classic wreath or you see photos and gifs they’ve always got a gorgeous ribbon on tied in a bow. I have no idea where this ribbon is from, I found it in our gift wrapping box but I know we’ve had it for a few years. So I just took a generous length and I cut the edges at an angle.

Then I just tied the ribbon into a bow, making sure the ‘Merry Christmas’ is on the outside of the bow.


To attach the bow to the wreath I just took some twine/ string, if you’ve got some wire left from attaching your accessories like the bells you could also use some of that.
I loosened my bow ever so slightly at the back and folded the point into a ‘u’ shape and making sure the two lengths of string meet roughly at the same point. So now instead of one long length of string, you have two lengths with a folded end and an open end.
As you can see in the second photo, I’m holding the two opened ended bits and about to pull them through the ‘u’ shape to hold the bow and string together.
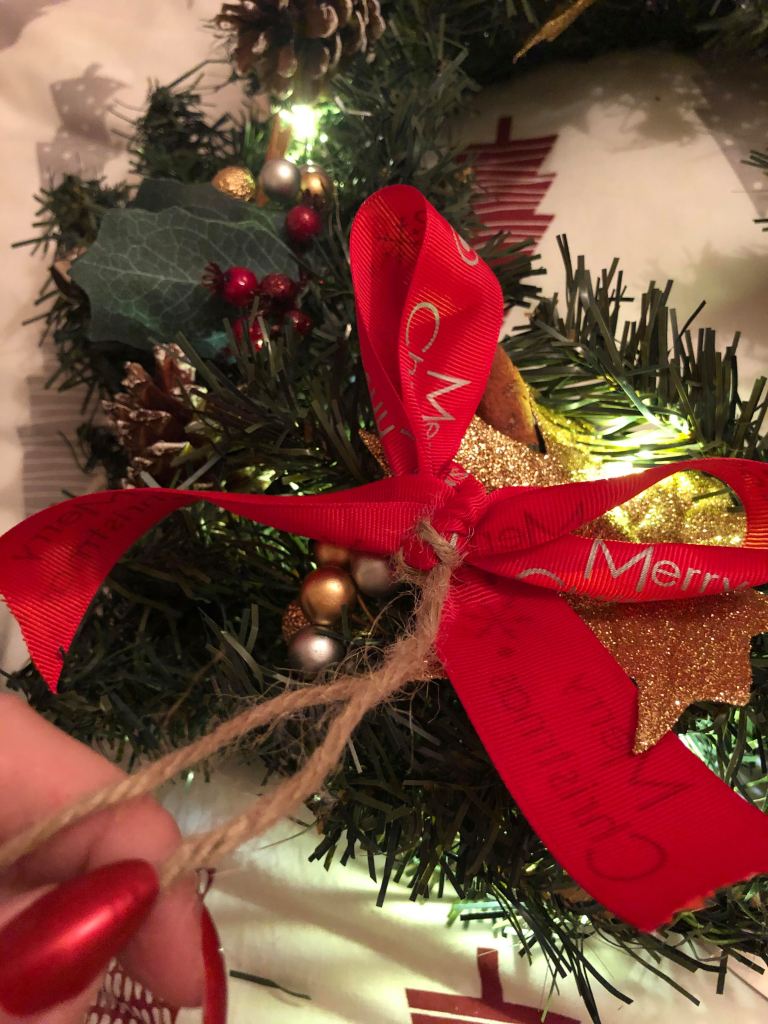
Pulling that string through to securely attach the bow and string together, ready to attach to my wreath.

I laid the bow down to decide the placement, I went for the bottom of the wreath. When I was happy I tied the string to the wreath stem at the back. I tied it twice just to make sure it wasn’t going to come off. So I just did your basic knot of the two bits brought and tied together. Then I cut off the excess string with some scissors.
And then we’re done!


That is it! It’s a very simple “tutorial” if you can even call it that. One thing I do love about doing it this way is that this wreath will not be 100% the same as pre bought ones because I created it myself. Honestly just such a fun activity, would recommend if you’re looking for something festive and fun to do or if you just wanna get creative. I’m finding crafts a great way to get away from my phone for a couple of hours so fully enjoyed making this!
Show me what wreath you’ve got this year/ the one’s you’ve made this year. I think one full of baulbals and like mini Christmas jumpers would be amazing! The ideas are endless of what you could create! Send me pictures as I’d love to see what you guys create! The best part about these elements for the wreaths you could put your left over bits in pot pourri or vases with lights for the winter months. Plus the majority of these bits can be used again the following year for an entirely different project all together!
Thank you so much for reading as always guys. I’ve got a lot of festive posts to come this month and lots of fun Instagram content too! So don’t forget to be following me over there @katiej0hnson if you wanna keep up to date with me and all my festivities. Especially from the start of December as I’ve got a special treat for you every day for 25 days! Any guesses as to what I’ve created?
I’ll talk to you all again soon! Sending festive wishes and December kisses!

